Manufacturer part #: EX1065
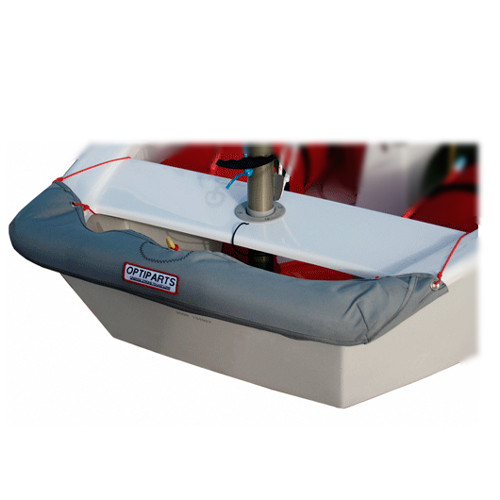
Foam tubing covered by heavy duty polyester cloth. This fender has a snug fit around the bow of the Optimist. Ideal for sailing schools. With grommet in the middle to pass the painter.
-->Manufacturer part #: EX1065
While strap on, shock-cord type bow bumpers may look convenient they just don't do the job of protecting the bow when they fall off or fall down below the rail. The Optiparts bumpers, when installed correctly, will stay put and do their job!
1. Put foam insert over lip of bow (do not remove tape from foam) and stretch cover evenly over foam.
2. Drill a 5/32" hole through radius of rail about 1.5" behind end of cover on each side (take care not to plunge drill bit through hull side!)
3. Thread adjusting line through holes on each side. Pull line extremely tight and go through top grommet, back through hole in rail then through bottom grommet.
4. Frap (wrap) the end of the line around the "V" created by the lacing with half hitches that will draw the bumper even tighter (and make it look nice!).
5. Take care to pull bottom as well as top tight for a long lasting secure fit.


